
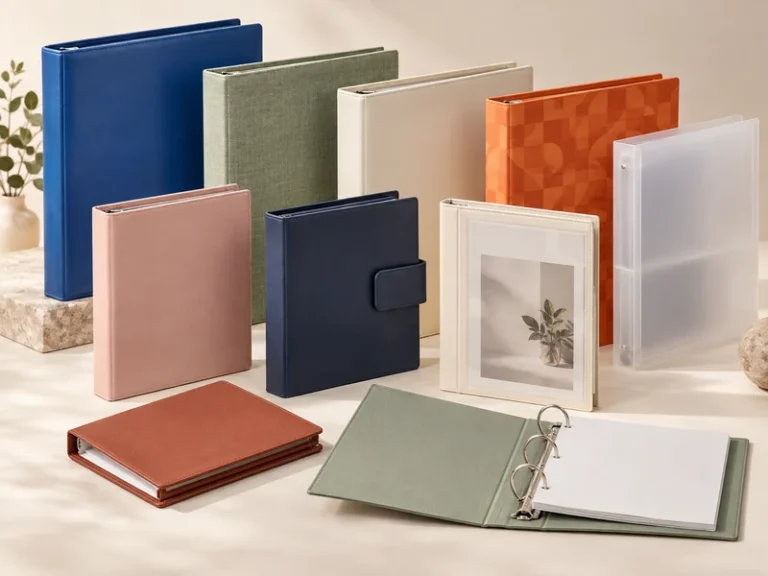
Custom Ring Binders
Start with the pages, inserts and documents your binder needs to hold.
Compare custom ring bindersExplore custom ring binders, presentation folders, notebooks, clipboards, photo albums and trading card binders. Start with a format or reference, then plan the structure, artwork and packaging.
Explore six custom-stationery product families, from ring binders and notebooks to presentation folders and trading card albums. Use these selection notes to plan your project.
Start with the pages, inserts and documents your binder needs to hold.
Compare custom ring binders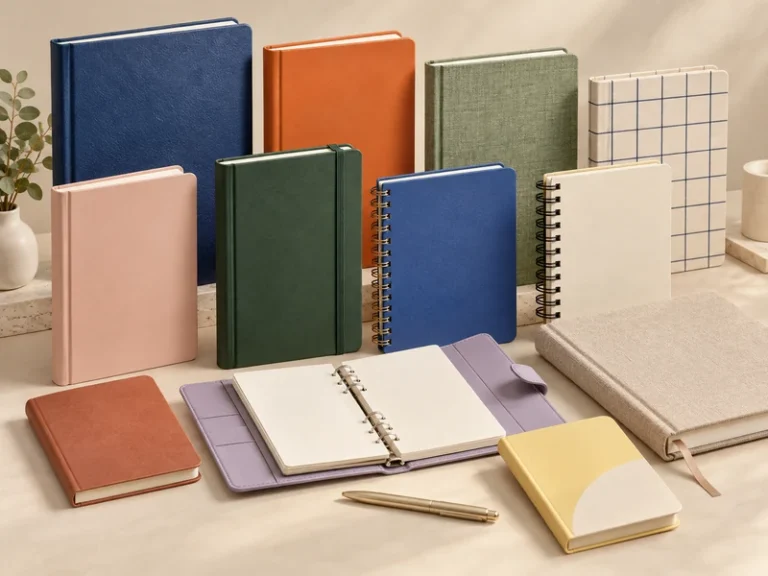
Plan the notebook around writing, binding and the inner-page layout.
Compare custom notebooks & planners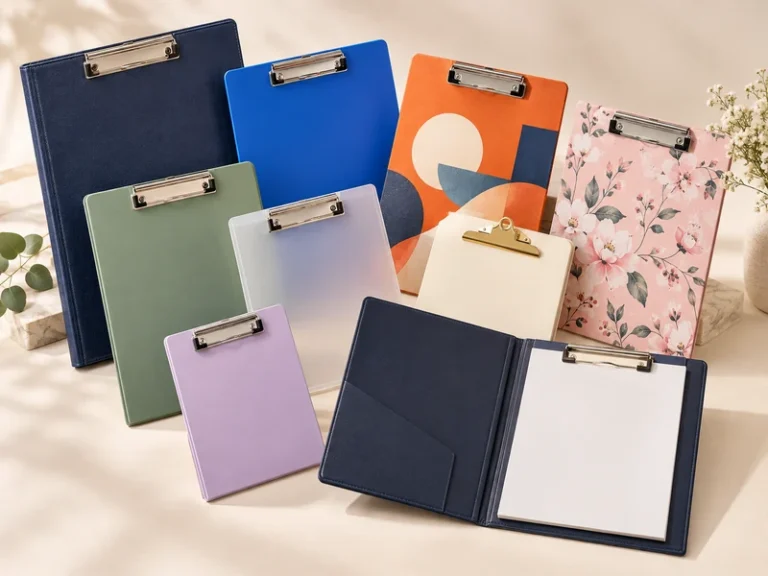
Consider paper format, handling and the working environment.
Compare custom clipboards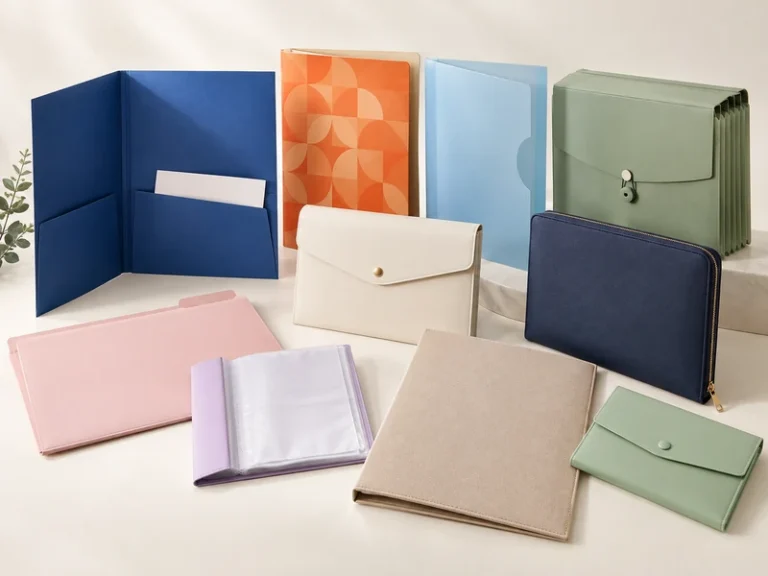
Choose pockets and closures around the documents being presented.
Compare presentation folders & organizers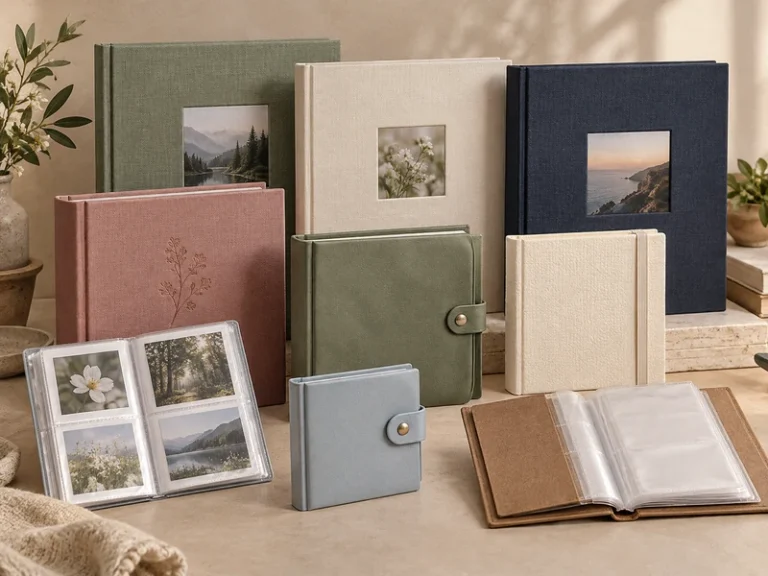
Choose pocket and page formats for the collection you want to organize.
Compare photo albums & trading card binders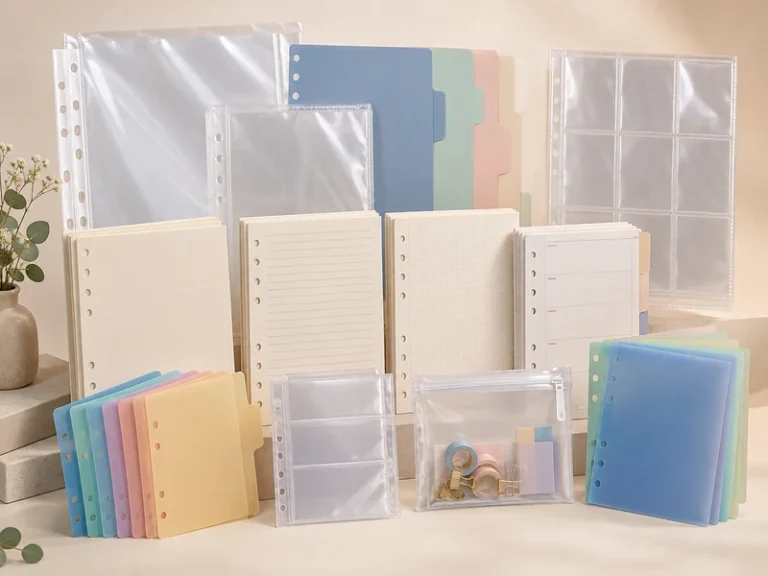
Plan mechanisms, clips, inserts and dividers around the complete stationery construction.
Explore binding hardware & accessoriesPlanning range: 5 procurement groups / 11 series. A category is not a confirmed SKU or supply commitment.
Optional visual carousel · all categories remain visible above
AI family collection illustration · BDR
AI family collection illustration · NBK
AI family collection illustration · CLP
AI family collection illustration · FLD
AI family collection illustration · ALB
AI inserts and refills illustration · ACC
Use these five dimensions to shape a brief. Final options and combinations need technical confirmation.
Format, binding or ring system, closure and internal layout.
Discuss cover, board, fabric or plastic directions appropriate to the format.
Define artwork, logo position, color and proposed finishing.
Coordinate paper, pockets, dividers and functional accessories.
Consider protection, presentation, packout and labeling needs.
See the working stages together, then focus on the details that matter to your project.
Start with product type, intended use and any reference you can share.
A reference image is a starting point, not a finished specification. Keep the sample, artwork and written requirements aligned.
Share your intended use, reference and open questions. Confirm the sample and written requirements before an order.
Discuss your project →Illustrative buying scenarios, not customer case studies.
Connect a consistent product direction with artwork and presentation.
Discuss this project →Organize a product range around format, construction and packing requirements.
Discuss this project →Start from the intended use, branding and delivery requirements.
Discuss this project →Compare formats, construction and intended use before selecting materials, accessories or artwork. Each note leads straight to a short project brief.
For a custom ring binder, compare sheet size, hole spacing, ring shape and the contents before selecting a cover.
Use this in your brief ↗For custom notebooks and planners, define finished format, binding style, page layout and whether refills need replacing.
Use this in your brief ↗For custom clipboards, compare the paper orientation, board construction, clip position and intended use.
Use this in your brief ↗For presentation folders and document organizers, start with the document format, pocket layout and how the folder will open.
Use this in your brief ↗For custom photo albums and trading card binders, confirm the photo or card format, pocket arrangement, page structure and access needs.
Use this in your brief ↗For binder mechanisms and stationery clips, check the hardware shape, fixing method and compatibility with the intended pages or board.
Use this in your brief ↗A reply contact and a short description are enough to start a discussion. References and detailed specifications can follow.
No. Mark what is known and what still needs review. Do not substitute a guessed value for a confirmed requirement.
Explore ring binders, notebooks and planners, clipboards, folders and document organizers, photo and card albums, and binding hardware and accessories. The exact configuration is reviewed for your project.
Describe the intended use, share any available sample or drawing, and identify which parts of the design are fixed and which are open for discussion.
Collection images illustrate design directions. They are not a stock list or verified product specifications. Confirm the exact materials, structure, colors and configuration with AWG before ordering.
When available, include the product type, intended use, dimensions, artwork, estimated quantity, destination and requested timing. Mark unknown details clearly so they can be reviewed.
Start with the sheet size, hole spacing, preferred ring style, cover direction and what the binder needs to hold. Final configuration needs sample review.
Include the finished format, writing layout, page sequence, binding and cover preferences. For dated planners, check dates, language and page order before approving the artwork.
Describe the paper size, working position, clip location and any cover or pocket requirements. Review the complete assembly with the intended documents rather than judging from appearance alone.
Start from document size, pocket layout, business-card slots if needed, closing method and your artwork. Confirm the final structure with a sample.
Provide the actual photo or card dimensions, including any sleeves. Describe pocket orientation, page arrangement, attachment, cover and closure preferences so fit can be reviewed together.
Identify the intended cover or assembly and share its drawing or sample reference. Check mounting positions, hole spacing, fixing method and clearance on the complete assembly.
No. A visual reference does not confirm dimensions, material composition, mechanism or included items. These need matching evidence.
Share your logo or artwork, preferred placement, size, colors and finish. Keep the reference version clear; the suitable process and final requirements need confirmation for the project.
Use clearly named files and identify the latest version and approval owner. Ask for the applicable artwork dimensions, layout and production-file requirements before finalizing the design.
A digital layout helps review appearance, but it does not establish material composition, construction or fit. Keep artwork approval and physical sample review as separate decisions.
Compare the sample with the agreed specification: dimensions, mechanisms, pockets, closure, artwork, finish and packing. Record discrepancies and unresolved questions against the same product version.
Record the change with a new revision and identify what needs another review. A change to the cover, mechanism, accessory or bundle may also affect fit and packaging.
These depend on the actual configuration and order. Request a quotation for your specific project.
Minimum quantity needs confirmation for the specific product and customization requirements. Share your estimated quantity and preferred configuration so the applicable terms can be reviewed.
Describe what you need to review and whether you have an existing reference. Ask for confirmation of sample scope, tooling requirements, fees and timing in the project quotation.
Share the destination and the date the goods are needed. Separate sample review, production and shipping questions; a requested date is not a confirmed delivery commitment.
Describe unit packaging, included inserts, carton arrangement, labels and shipping marks. Confirm dimensions, weights and packing requirements against the approved product version.
List the exact requirement and destination market in your brief. Availability, applicable evidence, testing scope and any related costs need confirmation for the specific product.
Start with a reply contact and a short project description. Product details are optional at this stage.
Share a short brief through our inquiry page. Read the privacy notice before sending.