A basic three-ring binder consists of a front cover, spine, back cover, ring mechanism, and optional pockets or dividers. To make one from scratch, you cut the cover boards, wrap them with a chosen material, create flexible hinges, and rivet the ring mechanism into position.
For a single binder, this can be completed with simple craft tools. For branded binders sold through retail, corporate, educational, or promotional channels, manufacturers use a controlled process involving material selection, printing, die cutting, assembly, quality inspection, and packaging.
Exploded-view diagram showing the front cover, spine, back cover, hinge areas, ring mechanism, rivets, and inside pocket of a three-ring binder | Alt: “Main components used to make a three-ring binder” | Source: original diagram –>
Materials and Tools Needed to Make a Binder at Home
For a simple DIY three-ring binder, prepare:
- Binder board, chipboard, or sturdy cardboard
- Fabric, book cloth, decorative paper, PU material, or another cover material
- A three-ring mechanism
- Rivets that match the mounting holes in the mechanism
- Adhesive suitable for the cover material
- A ruler and cutting mat
- A utility knife
- A hole punch or drill suitable for the board
- A rivet-setting tool
- A pencil or washable marker
- Optional lining paper, pockets, dividers, or spine labels
The ring mechanism and rivets should be selected together. Do not assume that every mechanism uses the same mounting-hole size or position.
A simpler alternative is to purchase a clear-view binder and insert printed artwork into its front, back, and spine pockets. This approach avoids building the structure from scratch and works well for quick, low-volume projects. Avery’s custom-binder guide illustrates this type of insert-based customization.
How to Make a Three-Ring Binder From Scratch
1. Define the Finished Binder Size
Start with the paper or inserts the binder will hold.
The cover must be slightly larger than the paper, while the spine must provide enough space for the selected ring mechanism and document capacity. Before cutting any material, confirm:
- Paper size
- Ring count
- Ring shape
- Mechanism length
- Required document capacity
- Portrait or landscape orientation
- Pocket and divider requirements
If you are building a custom size, use the actual ring mechanism and a sample stack of paper to check the proportions.
2. Cut the Cover Boards
Cut three separate board pieces:
- Front cover
- Spine
- Back cover
Keep the front and back panels equal in size. The spine width depends on the mechanism, document capacity, and desired finished appearance.
Lay the three pieces in a straight line, leaving narrow gaps between the spine and cover panels. These gaps form the hinges that allow the binder to open and close.
Cut the Cover Boards” | Visual: Top-down workshop photo showing three cut binder-board panels aligned with equal hinge gaps | Alt: “Binder board panels arranged before covering” | Source: generated visual –>
3. Apply the Outer Cover Material
Cut the outer material large enough to cover all three boards and wrap around their edges.
Apply adhesive evenly, then place the front cover, spine, and back cover onto the material in their planned positions. Maintain consistent hinge gaps throughout this step.
Wrap the excess material over the board edges and secure it on the inside. Smooth the surface carefully to prevent:
- Bubbles
- Wrinkles
- Exposed board edges
- Uneven corners
- Adhesive marks
- Distorted artwork
For printed paper covers, a protective film or laminate can improve resistance to scuffing and moisture. Fabric, PU, PVC, PP, and other materials require adhesives and forming methods compatible with their surfaces.
4. Add the Inside Lining
Cut a lining sheet slightly smaller than the opened binder case and adhere it to the inside.
The lining covers the folded edges of the outer material and creates a cleaner finish. If you want internal pockets, card slots, or pen loops, plan their positions before attaching the lining.
Press the assembled case flat while the adhesive sets. Follow the adhesive supplier’s curing instructions rather than closing the binder immediately.
5. Position the Ring Mechanism
Place the ring mechanism on the spine or back cover, depending on the intended structure.
Center it carefully and check that:
- The mechanism is straight
- The rings can open fully
- Loaded pages will not extend beyond the cover
- The mechanism does not interfere with the hinge
- The mounting points sit on sufficiently strong material
Mark the mounting holes through the mechanism. A common DIY method is to punch the board and secure the mechanism with rivets, as shown in this from-scratch three-ring binder tutorial.
6. Punch the Mounting Holes
Remove the mechanism and make holes at the marked positions.
The hole diameter should match the selected rivets. Oversized holes may allow the mechanism to move, while undersized holes can damage the board or cover material during installation.
Before riveting, confirm the alignment one more time.
7. Rivet the Mechanism Into Place
Insert the rivets through the prepared holes, position the ring mechanism, and set each rivet using the appropriate tool.
The mechanism should sit firmly without rocking or rotating. Open and close the rings several times to ensure that the covers, hinges, and rivets do not restrict movement.
Wear eye protection when drilling, punching, hammering, or setting metal hardware. Keep hands clear of cutting tools and the closing path of the rings.<!– IMAGE 3: Insert after “Rivet the Mechanism Into Place” | Visual: Close-up of a three-ring mechanism being aligned and riveted onto a finished binder spine | Alt: “Installing a three-ring mechanism with rivets” | Source: original diagram or licensed workshop photo –>
8. Add Pockets, Dividers, and Labels
Depending on the application, finish the binder with:
- Inside document pockets
- Business-card holders
- Pen loops
- Index dividers
- Sheet protectors
- Printed inserts
- Replaceable spine labels
- Branded instruction sheets
Load a small set of punched pages and test the finished binder before regular use.
How Custom Binders Are Made in a Factory
A homemade binder demonstrates the basic construction, but commercial production adds repeatability, print control, material testing, packaging, and inspection.
A typical OEM or ODM binder project follows these stages.
1. Product Requirements Are Confirmed
The manufacturer first confirms the intended market, application, target price, order quantity, and packaging requirements.
The specification normally covers:
- Finished dimensions
- Paper format
- Cover material
- Board structure
- Ring type and size
- Number of rings
- Pocket layout
- Printing and logo method
- Accessories
- Packaging
- Labeling and shipping marks
This stage is essential because changing the ring mechanism or spine width can affect several other parts of the binder.
2. The Structure and Materials Are Selected
Commercial binders can be made with materials such as:
- PP
- PVC
- PU leather
- Paperboard
- Fabric
- Linen
- Recycled or other environmentally considered materials
The correct material depends on the product’s intended appearance, durability, cleaning requirements, print method, target cost, and sales channel.
Cover options may include clear pockets, wrapped board, flexible plastic, padded construction, or special internal layouts.
3. Artwork and Samples Are Prepared
The manufacturer checks the customer’s logo, colors, artwork dimensions, print positions, and finishing requirements.
Available decoration methods may include:
- Screen printing
- UV printing
- Full-color printing
- Foil stamping
- Embossing
- Debossing
- Surface lamination
A sample is usually produced before mass production so the buyer can confirm the dimensions, color, structure, mechanism, logo, and packaging.
4. Materials Are Printed and Converted
Depending on the binder type, production may include:
- Printing
- Laminating
- Die cutting
- Board cutting
- Scoring
- Folding
- Hole punching
- Cover wrapping
- Edge forming
- Heat sealing
The order of these operations varies by material and construction. A wrapped paperboard binder, for example, follows a different forming process from a welded PVC binder or a flexible PP binder.
5. The Cover Is Formed
The front panel, spine, back panel, and hinges are formed according to the approved sample.
At this stage, operators must control alignment, hinge flexibility, surface flatness, and edge finishing. Poor hinge spacing can make a binder difficult to open or cause the cover to deform when filled.
6. The Ring Mechanism Is Installed
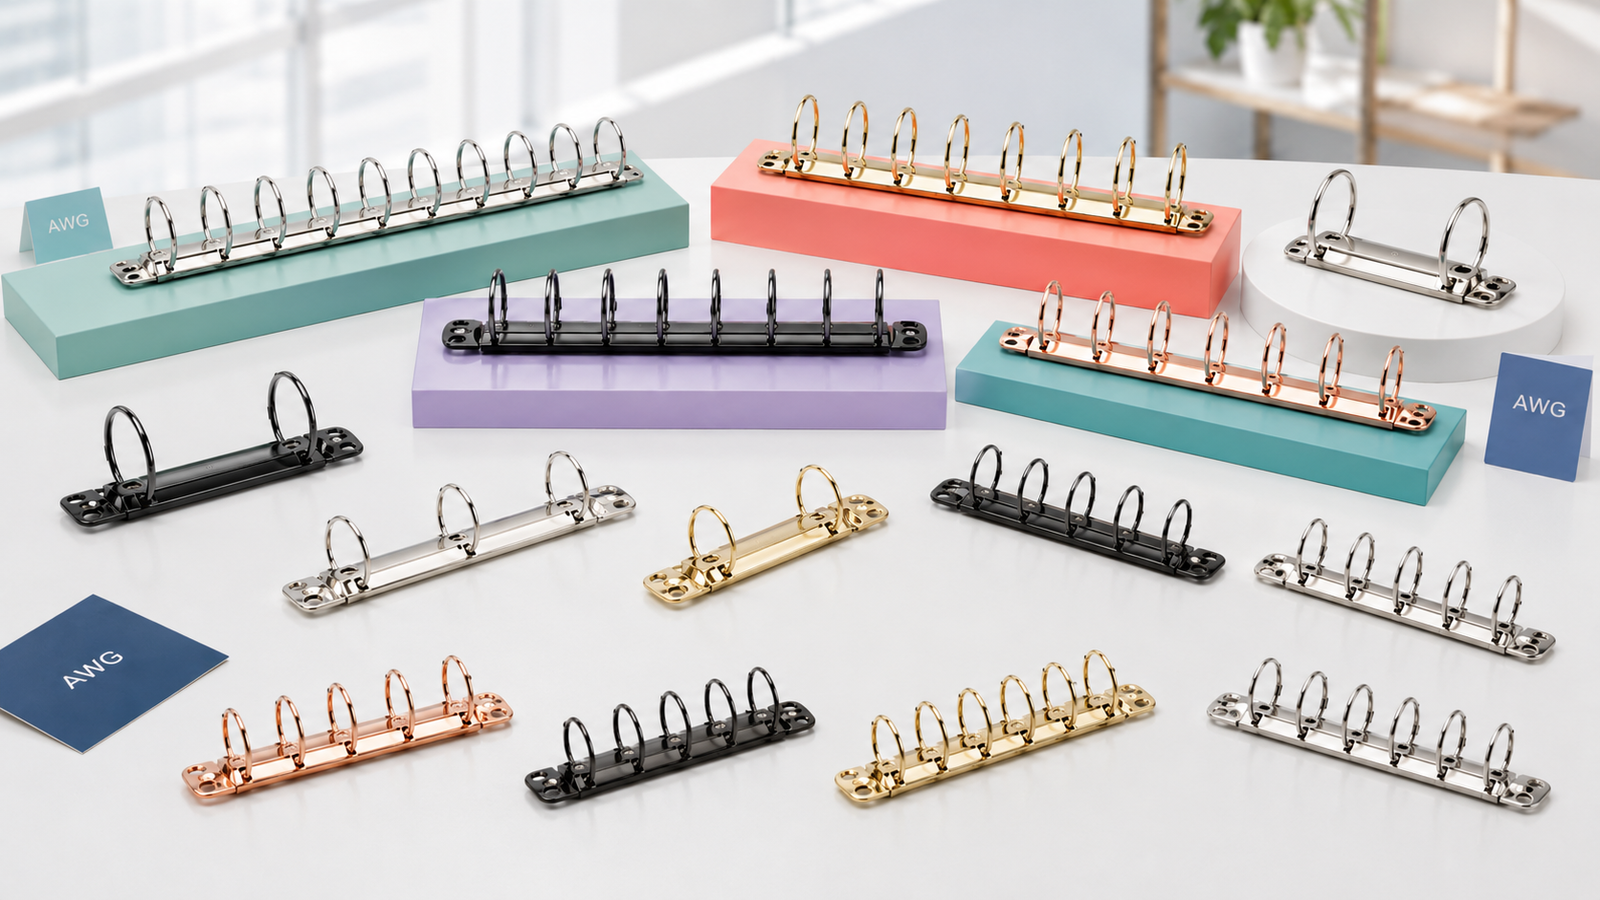
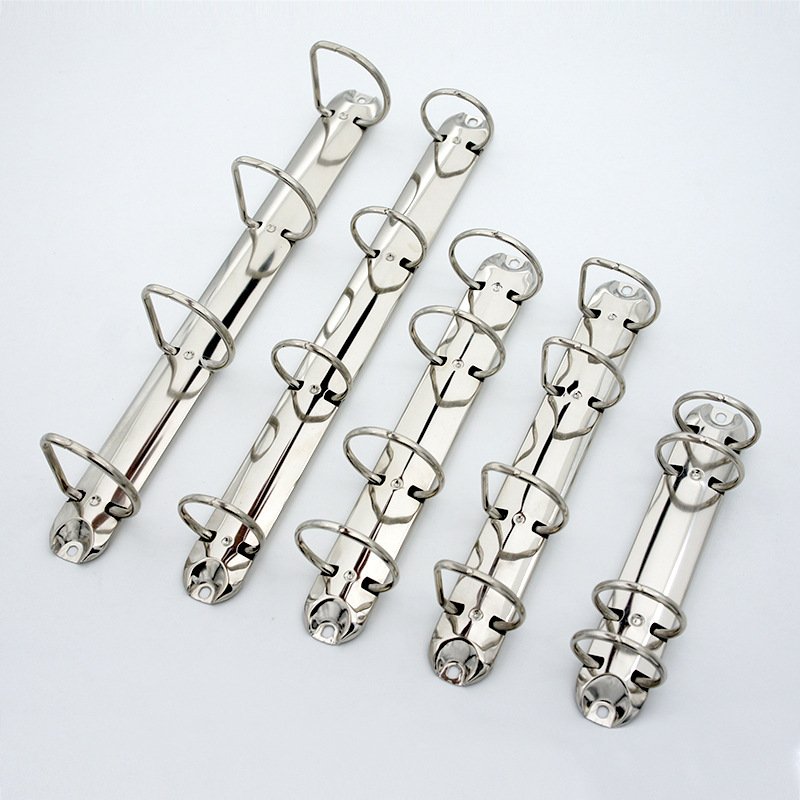
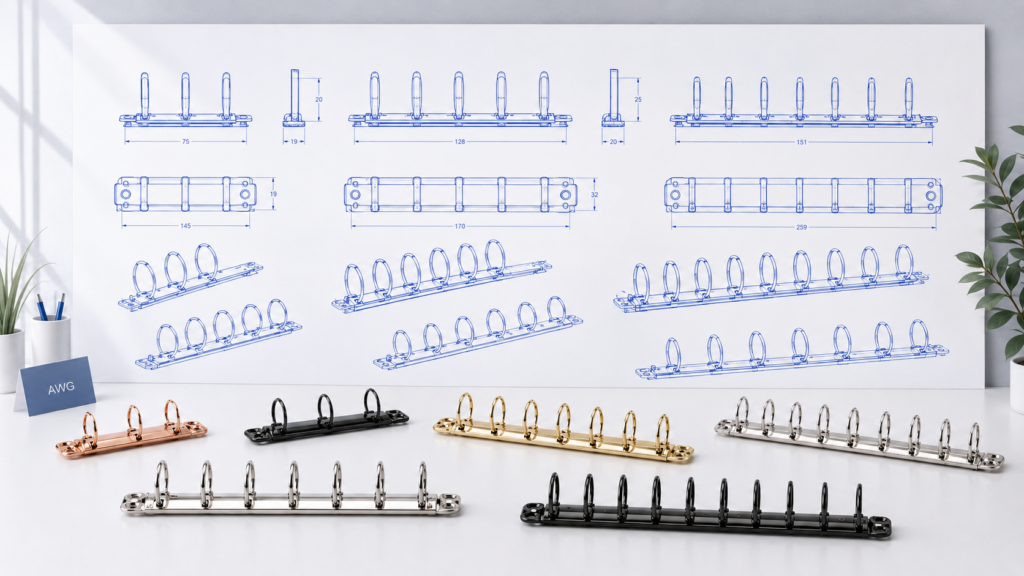
Binders may use O-ring, D-ring, slant-D, Q-ring, or other mechanisms with two, three, four, or more rings.
The mechanism is positioned according to the approved structure and fixed using compatible hardware. Installation checks should confirm that:
- The mechanism is straight
- Rivets or fasteners are secure
- Rings meet evenly when closed
- The opening action is smooth
- Pages turn without catching
- The mechanism does not damage the cover
Buyers sourcing separate hardware can also review dedicated ring mechanism options.
The Ring Mechanism Is Installed” | Visual: Factory workstation showing binder covers and metal ring mechanisms during assembly | Alt: “Ring mechanisms being installed during binder production” | Source: company photo –>
7. Pockets and Accessories Are Added
The factory then installs the specified components, which may include:
- Front, back, or spine pockets
- Internal document pockets
- Card holders
- Pen loops
- Zippers or closures
- Replacement inserts
- Printed dividers
- Sheet protectors
- Custom packaging accessories
Each component should be checked against the approved sample and purchase specification.
8. The Finished Binders Are Inspected
A practical binder quality-control process covers several production stages:
- Raw-material inspection
- First-piece approval
- In-process inspection
- Finished-product sampling
- Packaging verification
- Pre-shipment inspection
Typical checkpoints include dimensions, color, print clarity, logo position, surface condition, hinge movement, ring alignment, fastening strength, pocket placement, quantity, labels, barcodes, and carton marks.
Wenzhou Art World Gift uses a workflow of sample confirmation, raw-material inspection, in-process checks, finished-product sampling, packaging review, and pre-shipment inspection for custom stationery orders.
9. Products Are Packed for the Sales Channel
Packaging can be adapted for wholesale, retail, promotional, or e-commerce distribution. Options include:
- OPP bags
- Shrink wrapping
- Gift boxes
- Custom printed boxes
- Retail labels
- Barcodes
- Instructions
- Customer-specified carton marks
- E-commerce or warehouse labels
The packaging method should protect the mechanism and prevent cover deformation during storage and transportation.
DIY Binder vs. Factory-Made Custom Binder
| Consideration | DIY Binder | Factory-Made Binder |
|---|---|---|
| Best quantity | One or a few pieces | Samples through repeat bulk orders |
| Customization | Basic materials and hand decoration | Material, structure, printing, hardware, accessories, and packaging |
| Consistency | Depends on individual workmanship | Controlled through approved samples and production checks |
| Printing | Home printing or applied decoration | Screen, UV, color printing, foil, embossing, and other processes |
| Hardware installation | Hand-punched and manually riveted | Production fixtures and standardized assembly |
| Packaging | Basic protective packaging | Wholesale, retail, promotional, or e-commerce packaging |
| Best use | Personal projects and prototypes | Brands, importers, wholesalers, schools, gift companies, and retailers |
Common Binder-Making Mistakes
Choosing the Ring Mechanism Too Late
The ring shape and capacity affect the spine, cover dimensions, page movement, and overall structure. Select the mechanism before finalizing the binder case.
Making the Hinges Too Tight
Insufficient space between the cover boards and spine can cause the material to wrinkle or the binder to resist opening.
Using Incompatible Materials and Adhesives
An adhesive that works on paperboard may not perform the same way on PP, PVC, PU, fabric, or laminated surfaces. Test the full material combination before production.
Misaligning the Mechanism
Even a small positioning error can make the binder look uneven and cause pages to extend past the cover.
Ignoring the Loaded Binder
An empty sample may look correct while a fully loaded binder behaves differently. Test the binder with the expected paper quantity, pockets, and dividers.
Skipping Packaging Tests
A well-made binder can still arrive damaged if the rings press into adjacent covers or the cartons allow excessive movement. Evaluate the product together with its proposed packaging.
What Information Does a Binder Manufacturer Need?
To request an accurate custom binder quotation, provide:
- Reference photos or drawings
- Finished binder dimensions
- Paper size and orientation
- Preferred cover material
- Ring type, count, and capacity
- Artwork and logo files
- Pocket and accessory requirements
- Required quantity
- Packaging and labeling requirements
- Target market
- Required delivery date
- Destination and preferred trade terms
If some specifications are uncertain, provide the binder’s application, expected document capacity, target price, and desired appearance. A manufacturer can then recommend a suitable material and structure for sampling.
Frequently Asked Questions
Can You Make a Binder Without an Existing Binder?
Yes. A binder can be constructed from separate cover boards, a covering material, lining, a purchased ring mechanism, and compatible rivets. Precise measuring and mechanism alignment are the most important steps.
Can Cardboard Be Used to Make a Binder?
Sturdy cardboard or binder board can be used for a DIY binder. Its thickness and rigidity should suit the ring mechanism and intended document load. Commercial products may use different board or plastic structures depending on the required performance and finish.
How Do You Attach Rings to a Binder?
A metal ring mechanism is commonly attached through prepared mounting holes with rivets or compatible fasteners. The exact hardware must match the mechanism and cover structure.
What Materials Can Be Used for a Custom Binder?
Common options include PP, PVC, PU leather, paperboard, fabric, linen, and selected recycled materials. The best choice depends on construction, appearance, printing, durability, cost, and market requirements.
Can a Manufacturer Reproduce a Binder From a Sample?
A manufacturer can often develop a product from a physical sample, drawing, or detailed reference images. Materials, dimensions, hardware, artwork, packaging, and any protected design elements should be confirmed before production.
How Should a Custom Binder Be Approved Before Mass Production?
Review a physical or representative sample for size, materials, color, artwork, ring operation, pockets, accessories, and packaging. Record the approved details so the sample can serve as the production reference.
Turn Your Binder Concept Into a Production-Ready Product
Wenzhou Art World Gift Co., Ltd. provides OEM and ODM support for custom ring binders, folders, notebooks, and related stationery. We can help evaluate the material, cover structure, ring mechanism, printing method, internal layout, and packaging based on your application, target market, quantity, and budget.
Explore our custom ring binder solutions or send your dimensions, artwork, required quantity, and reference images to receive a material recommendation, sample plan, and quotation.